
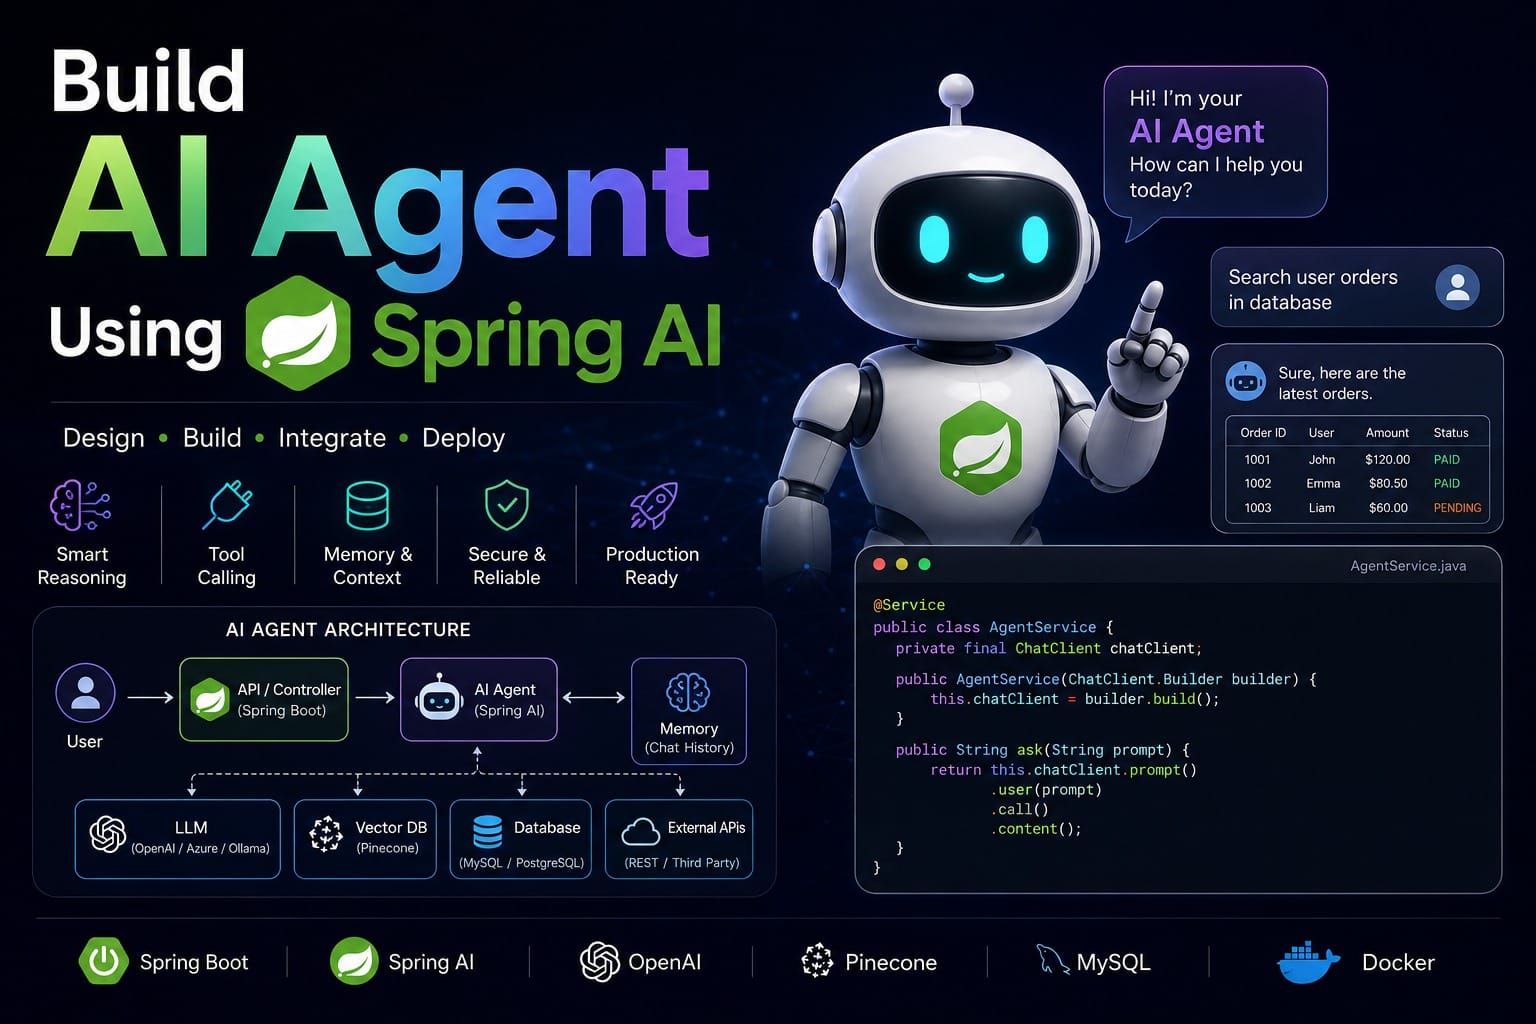
Build an AI Agent using Spring AI – Full Tutorial
In this tutorial, we are going to build an AI Agent using Spring AI. If you have been following along with the Codespy Spring AI series, you already know how to build a basic chatbot and connect it to OpenAI. But a chatbot that just guesses answers is only half the story. Today we take it to the next level — an agent that actually does something before responding.
More posts in this series: codespy.org/category/spring-ai
What Is an AI Agent?
An AI Agent is a program that uses a large language model (LLM) not just to generate text, but to take action. Instead of producing a response based purely on its training data, an agent can call external functions, APIs, or tools — gather real information — and then return a grounded, accurate answer.
Think of it this way: a chatbot knows things. An agent does things.
Chatbot vs AI Agent — What Is the Difference?
To understand why agents exist, consider this scenario. You ask your chatbot: “What is the weather in Bengaluru right now?”
A plain chatbot has no real-time data. It will either hallucinate an answer, or — if the model is well-trained — honestly tell you it cannot access current information. Neither result is useful when you actually need the weather.
An agent solves this by being connected to a tool — a function that fetches the real data. When you ask the same question, the agent recognises it needs to call the weather tool, gets the actual result, and returns it to you. The model is still the brain. The tool is the hands.
| Feature | Chatbot | AI Agent |
|---|---|---|
| Data source | Training data only | Live tools / APIs |
| Real-time answers | No | Yes |
| Can take actions | No | Yes |
| Risk of hallucination | Higher | Lower (grounded in tool output) |
Project Setup
We are using a standard Maven project with the following stack:
- Java 21
- Spring Boot 4.1.0
- Spring AI 2.0.0 (via BOM)
- OpenAI as the LLM provider (GPT-4o Mini)
pom.xml — Dependencies
We only need two dependencies: spring-boot-starter-web for the REST layer, and spring-ai-starter-model-openai to talk to OpenAI. Version management is handled by the Spring AI BOM so you do not have to pin every artifact manually.
<?xml version="1.0" encoding="UTF-8"?>
<project xmlns="http://maven.apache.org/POM/4.0.0"
         xmlns:xsi="http://www.w3.org/2001/XMLSchema-instance"
         xsi:schemaLocation="http://maven.apache.org/POM/4.0.0
             https://maven.apache.org/xsd/maven-4.0.0.xsd">

  <modelVersion>4.0.0</modelVersion>

  <parent>
    <groupId>org.springframework.boot</groupId>
    <artifactId>spring-boot-starter-parent</artifactId>
    <version>4.1.0</version>
    <relativePath/>
  </parent>

  <groupId>com.example</groupId>
  <artifactId>spring-ai-agent</artifactId>
  <version>0.0.1-SNAPSHOT</version>

  <properties>
    <java.version>21</java.version>
    <spring-ai.version>2.0.0</spring-ai.version>
  </properties>

  <dependencies>
    <dependency>
      <groupId>org.springframework.boot</groupId>
      <artifactId>spring-boot-starter-web</artifactId>
    </dependency>
    <dependency>
      <groupId>org.springframework.ai</groupId>
      <artifactId>spring-ai-starter-model-openai</artifactId>
    </dependency>
  </dependencies>

  <dependencyManagement>
    <dependencies>
      <dependency>
        <groupId>org.springframework.ai</groupId>
        <artifactId>spring-ai-bom</artifactId>
        <version>${spring-ai.version}</version>
        <type>pom</type>
        <scope>import</scope>
      </dependency>
    </dependencies>
  </dependencyManagement>

  <build>
    <plugins>
      <plugin>
        <groupId>org.springframework.boot</groupId>
        <artifactId>spring-boot-maven-plugin</artifactId>
      </plugin>
    </plugins>
  </build>

</project>application.properties
You need two configuration properties to connect to OpenAI — your API key and the model name. In this tutorial we use gpt-4o-mini, which is fast and cost-effective for agent workloads.
spring.application.name=spring-ai-agent

spring.ai.openai.api-key=YOUR_OPENAI_API_KEY
spring.ai.openai.chat.model=gpt-4o-miniNever hard-code your API key in a repository. Use environment variables or Spring’s externalized configuration in production.
Step 1: Create the Tool — WeatherTools
A tool in Spring AI is simply a Spring-managed bean with methods annotated with @Tool. The description attribute on that annotation is critical — the LLM reads it to understand when and why to call the method. Write it like documentation for the model, not for humans.
In real production code this method would call an actual weather REST API. For this tutorial we return hardcoded values so the concept is clear without needing API credentials.
package com.example.spring_ai_agent.tools;

import org.springframework.ai.tool.annotation.Tool;
import org.springframework.stereotype.Component;

@Component
public class WeatherTools {

    @Tool(description = "Get the current temperature for a given city")
    public String getTemperature(String city) {
        // In production, replace this with a real weather API call
        return switch (city.toLowerCase()) {
            case "bengaluru" -> "27°C, partly cloudy";
            case "delhi"     -> "34°C, sunny";
            default          -> "22°C, clear skies";
        };
    }
}A few things to notice here:
- The class is a
@Component, so Spring manages its lifecycle. - The
@Toolannotation marksgetTemperatureas callable by the agent. - The
descriptionis what the LLM sees — make it precise and action-oriented. - The method parameter
cityis automatically extracted from the user’s prompt by the model.
Step 2: Create the Agent — WeatherAgent
The agent is a @Service class that owns its own ChatClient instance. During construction we configure two important things:
- System prompt — instructs the model on its role and tells it explicitly to use the tool rather than guess.
- Default tools — registers our
WeatherToolsbean with this chat client so the model knows the tool is available.
package com.example.spring_ai_agent.agent;

import com.example.spring_ai_agent.tools.WeatherTools;
import org.springframework.ai.chat.client.ChatClient;
import org.springframework.stereotype.Service;

@Service
public class WeatherAgent {

    private final ChatClient chatClient;

    public WeatherAgent(ChatClient.Builder builder, WeatherTools weatherTools) {
        this.chatClient = builder
                .defaultSystem("""
                    You are a helpful weather assistant.
                    Always use the getTemperature tool for real data.
                    Never guess a temperature.
                    """)
                .defaultTools(weatherTools)
                .build();
    }

    public String ask(String question) {
        return chatClient.prompt()
                .user(question)
                .call()
                .content();
    }
}The key line is .defaultTools(weatherTools). This single call registers the entire WeatherTools bean — and all its @Tool-annotated methods — with the model. After this, every request that passes through this client can trigger those methods automatically.
The system prompt matters too. The instruction “Never guess a temperature” is a guard rail that prevents the model from falling back to hallucinated answers when the tool call fails or returns an edge case.
Step 3: Wire It in the Controller
The controller exposes two endpoints: the original /chat (plain chatbot, no tools) and the new /agent/weather (the agent). Keeping both lets you see the difference side by side in Postman.
package com.example.spring_ai_agent.controller;

import com.example.spring_ai_agent.agent.WeatherAgent;
import org.springframework.ai.chat.client.ChatClient;
import org.springframework.web.bind.annotation.GetMapping;
import org.springframework.web.bind.annotation.RequestParam;
import org.springframework.web.bind.annotation.RestController;

@RestController
public class ChatController {

    private final ChatClient chatClient;
    private final WeatherAgent weatherAgent;

    public ChatController(ChatClient.Builder builder, WeatherAgent weatherAgent) {
        this.chatClient = builder.build();
        this.weatherAgent = weatherAgent;
    }

    // Plain chatbot — no tools, just the LLM
    @GetMapping("/chat")
    public String chat(@RequestParam String message) {
        return chatClient.prompt()
                .user(message)
                .call()
                .content();
    }

    // AI Agent — uses WeatherTools under the hood
    @GetMapping("/agent/weather")
    public String weather(@RequestParam String question) {
        return weatherAgent.ask(question);
    }
}Testing with Postman
Start the application and open Postman. Run both endpoints with the same question to see the difference directly.
Plain Chatbot — /chat
GET http://localhost:8080/chat?message=What is the temperature in Bengaluru right now?Response: “I don’t have real-time data capabilities to check the current temperature in Bangalore…”
The model is honest — it tells you it cannot help. But that is still not useful.
AI Agent — /agent/weather
GET http://localhost:8080/agent/weather?question=What is the temperature in Bengaluru right now?Response: “The current temperature in Bengaluru is 27°C and it is partly cloudy.”
The agent called getTemperature("bengaluru"), received "27°C, partly cloudy" from our tool, and composed a natural-language answer from that result. No guessing. Grounded output.
How It All Works Together
Here is the full request flow when a user asks the weather agent a question:
- The user’s question hits
GET /agent/weather?question=... - The controller delegates to
WeatherAgent.ask(question). - The
ChatClientsends the question plus the system prompt to OpenAI. - OpenAI sees that
getTemperatureis a registered tool and that the question is weather-related. It decides to call the tool. - Spring AI invokes
WeatherTools.getTemperature(city)locally. - The tool result is sent back to OpenAI as context.
- OpenAI generates a final natural-language response using the real data.
- The response is returned to the user.
This pattern is known as function calling or tool use. Spring AI handles the entire round-trip — serialising the tool definition, passing it to OpenAI, receiving the tool call request, invoking the local method, and sending the result back — all transparently. You only write the business logic inside the tool method.
Summary
In this tutorial we built a working AI Agent with Spring AI from scratch. Here is what we covered:
- The conceptual difference between a chatbot and an AI agent.
- How to annotate a method with
@Tooland why the description attribute matters. - How to create a dedicated
WeatherAgentservice that owns its ownChatClientwith registered tools and a system prompt. - How a single call to
.defaultTools(weatherTools)connects your tool to the model. - How to verify the difference between plain-chatbot and agent responses in Postman.
The same pattern works for any real data source — replace the switch statement in WeatherTools with an actual REST call to a weather API, a database query, or any other integration. The agent framework does not care what the tool does internally; it just needs to be able to call it and get a string back.
In upcoming posts in the Spring AI series we will explore more advanced agent patterns including multi-tool agents, memory, and MCP-based tool servers. Stay tuned.
Full series: codespy.org/category/spring-ai